Laminate flooring newsletter
6 Steps to install standard laminate flooring
To construction of industrial laminate flooring in a beautiful way and leave little risk later, you can refer to the following tutorial. We will list and explain the installation steps in detail, making it easy for everyone to follow.
Renovating the surface of the construction of industrial laminate flooring
The first step before proceeding with the installation of laminate flooring is to survey the construction site. After that, we will carry out the renovation so that the work meets the conditions to use laminate flooring such as:
Right from the time of installation, we must ensure that the floor is dry and free of stagnant water. It is best to check the water pipes carefully to prevent leaks.
The ground surface must be flat, the difference should not be too much 2mm / 1m
Distance between floor and foot of door 10 - 15mm is ideal for flooring thickness 8 – 12mm. This is the distance that allows us to open and close the door easily without difficulty.
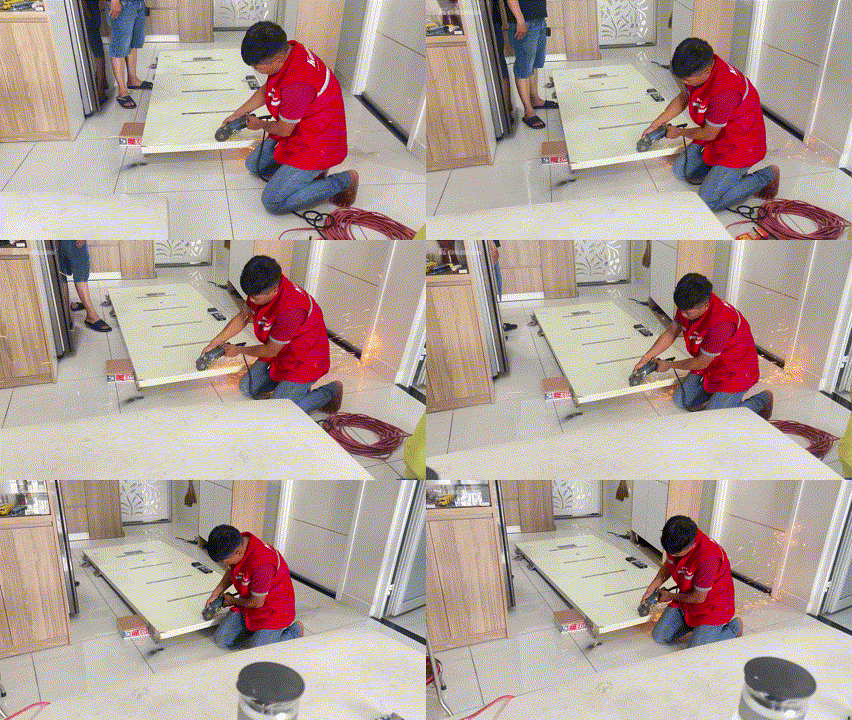
In addition, we need to take measures to prevent termites before installing laminate flooring if the building is located in a humid area, with many trees and using wooden furniture.
See more: Conditions for using laminate flooring.
Note: We only install the floor in the interior space (priority in the sunlit location), do not install laminate flooring in the outdoor area.
Gather tools to install industrial laminate flooring
Tools for installing industrial laminate flooring include: wooden floor boards, wooden floor foam, laminate flooring accessories (wool, braces), stainless steel nails, iron hammers, rubber hammers, spacers, cutters, rulers.
Construction of laminate flooring is required to let the flooring adapt to the temperature and humidity at the construction site for 48 hours before installation. Boards that adapt to the temperature conditions at the construction site will limit future expansion. Please note, the floorboard adapts to the best temperature when the box is opened.
Assemble wooden planks so that the minimum distance from the wall is 50 cm.
Room temperature is at least 18 degree Celsius.
Floor surface temperature is at least 15 degree Celsius.
Humidity in the air in the range of 40 - 70%.
Install the brace base where the brace needs to be used
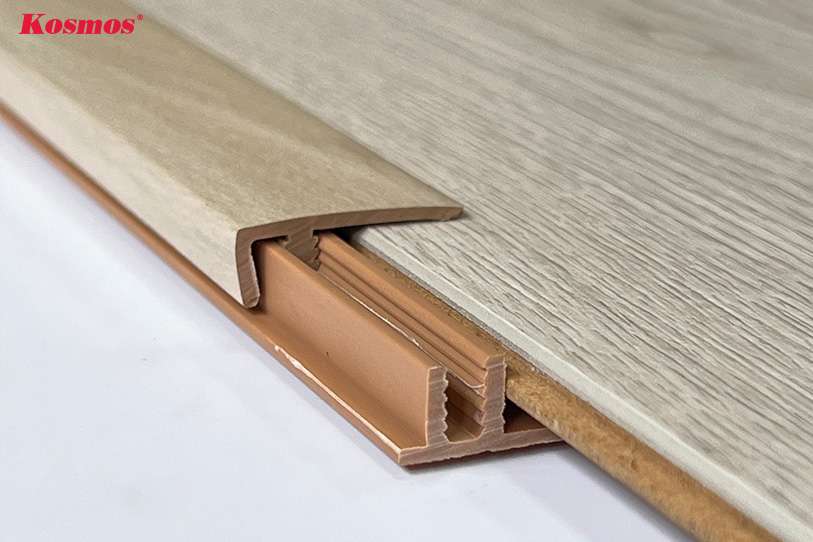
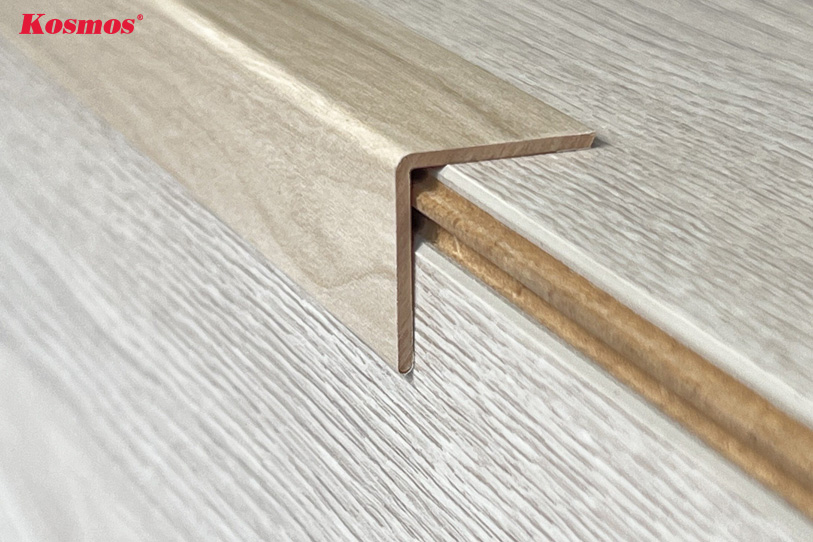
The laminate flooring brace is divided into 2 parts, the splint cover and the brace base. The base of the brace is fixed to the surface of the building by nails. We usually attach the base at the point where the floor needs to be finished such as: the door (using the T brace), interior storage area (use the F . brace), right angle area (Use V brace).

Note: For rooms with width, length > 10m then use splint to divide regions.

Spread foam floor mats
Construction of industrial wood flooring is indispensable for the presence of sponge lining. Foam floor panels are usually PE Foam, silver foam or young rubber. They are useful for:
- Protect the floor from harmful agents originating from the foundation below.
- Support the floorboards smoothly and prevent making noise when moving.
- Protect the lock from breaking when the laminate flooring is impacted by external forces.
Note: When spreading foam floor mats, we should not overlap each other. To ensure that, we will use extra tape to glue the foam lining.
Assemble industrial laminate flooring
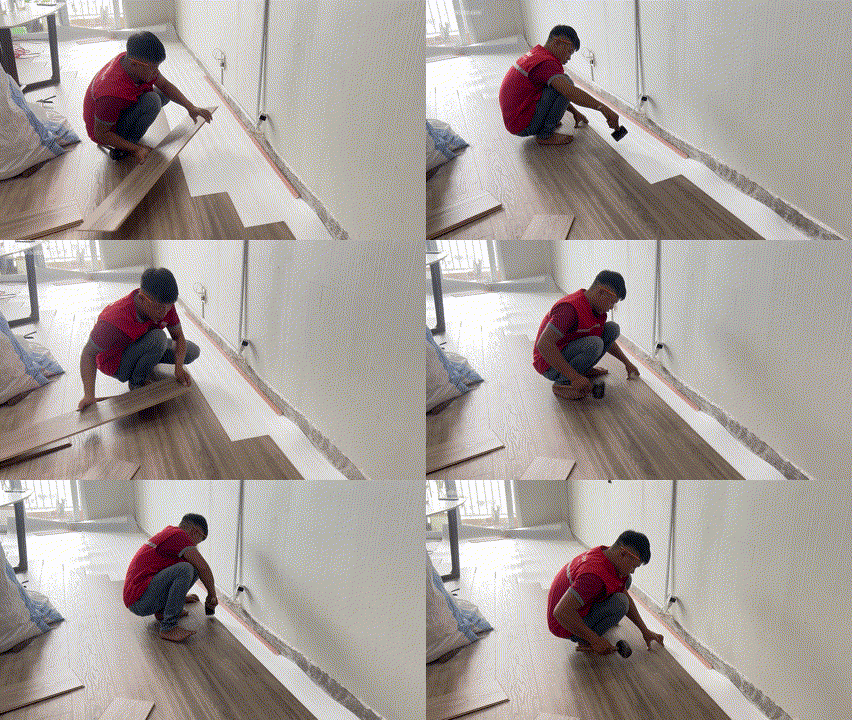
Laminate flooring is now assembled with lock system Also known as negative-positive coupling. We will attach the negative joint to the positive joint of the board and repeat the operation continuously until a complete floor is completed.
Note:
- Installing the first wooden plank is extremely important. The first board will shape the next assembled boards. We will install the wooden floor in the direction of the light entering the room so that the floor has a beautiful effect.
- Construction of laminate flooring must leave a gap for the floor to expand. The distance between the floor and the wall will be about 10 - 15mm.
- We use a rubber hammer to lightly tap the edge of the board to increase the tightness of the lock. You can still use a high hardness accessory such as an iron hammer to perform this operation, provided that additional padding is used. The spacer will ensure that the edge of the board is not damaged.
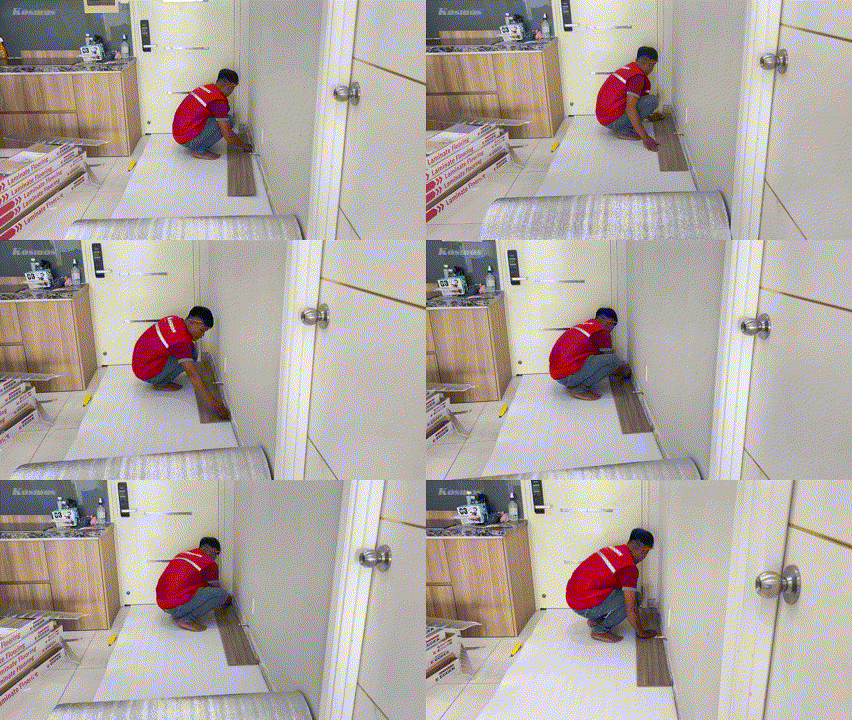
The most basic way to install laminate flooring is to install it in parallel. When installing parallel laminate flooring, we will divide the floor into rows with 2 orders of 1 and 2, specifically:
- The first game in row 2 will be half the length of the first game in row 1.
- The remaining planks of both rows are kept the same size.
See more: The most unique types of laminate flooring installation today
Installation of laminate flooring accessories
We will proceed to install the brace cover onto the brace base to fix the floor and install wool at the base of the wall to cover the gap. The process of attaching the splint cover to the splint base is extremely simple. You just need to use a rubber hammer to lightly tap the cover tightly onto the base and you're done.
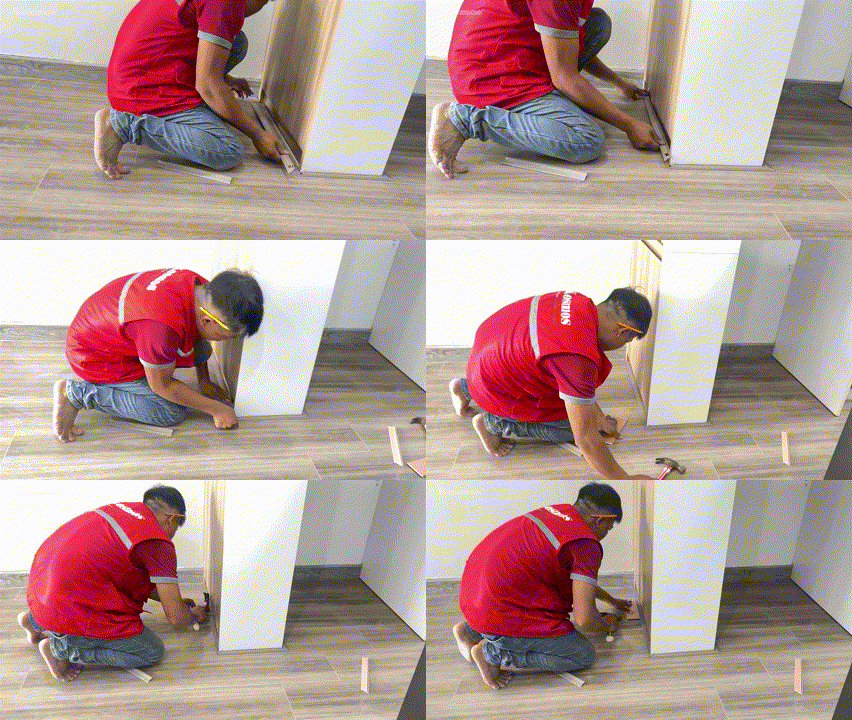
Installation of plastic skirting includes 3 steps:
B1 Cut wool to the right size.
B2Glue the back of the wool to the base of the wall.
B3 Fix the wool to the wall with nails.
For a more intuitive view of the installation process of skirting boards, we can refer to here.

Installation instructions for industrial laminate flooringApplicable to all brands of laminate flooring. The only difference between them is the operation of assembling the lock bar (each type of laminate flooring will have a different key shape). There are types of just slightly inclinedis connectable, some have to be tilted 45 degrees(Robina wooden floor lock).
You can see pictures of installing laminate flooring locks in the article The most popular types of industrial laminate flooring locks today, or on the videos that Kosmos has made available on the platform Youtube. If you have any questions during the construction process of laminate flooring, you can contact Kosmos Vietnam via Hotline: (+84) 903 093 221
Kim Hoa is an expert in interior and exterior decorative materials at Kosmos Vietnam. She has professional knowledge of interior design and loves finding creative ways to optimize space with simple construction decoration materials such as wood, stone, bamboo, brick and plastic.
Kim Hoa Regularly participate in seminars and exhibitions on interior decoration materials to update the latest trends, as well as to learn more about interior decoration materials. Meet interior and exterior designers, architects, and material experts to continuously learn. She also actively shares her knowledge and experience on social media channels such as Facebook, YouTube, Tiktok... with more than 100 thousand followers.
Mission of Kim Hoa not merely providing information, but also ensuring that All information posted is quality, has in-depth investment and is most useful to viewers.
- Is 304 stainless steel wall corner brace good? 2 types and correct installation methods
- Quote the best 6 types of laminate flooring and construction notes
- Quotation for U-shaped stainless steel braces according to 9 sizes and installation methods
- Construction price for 5 types of beautiful gold-plated stainless steel plaster ceiling braces
- Instructions on 6 steps to properly install bamboo charcoal panels for walls and ceilings
Related articles of interest:
- Galawood plastic wood newsletter
- Kosmos plastic wood newsletter
- Newsletter Kosmos
- Korean Wave Newsletter
- Newsletter fluted panel Kosmos
- Korean molding news
- Stone PVC Newsletter
- Laminate flooring newsletter
- Egger laminate flooring newsletter
- Galamax laminate flooring newsletter
- Kosmos laminate flooring newsletter
- Povar laminate flooring newsletter
- Robina Flooring Newsletter
- Newsletter Thaixin laminate flooring
- Plastic floor newsletter
- Newsletter plastic wall panels
- Newsletter of bamboo charcoal panels
- Bulkhead newsletter
- agents
- Accessories consultation
- Wiki - Interior and exterior trends

Laminate flooring newsletter
Wooden floors: Classification, advantages and disadvantages and detailed price list

Laminate flooring newsletter


