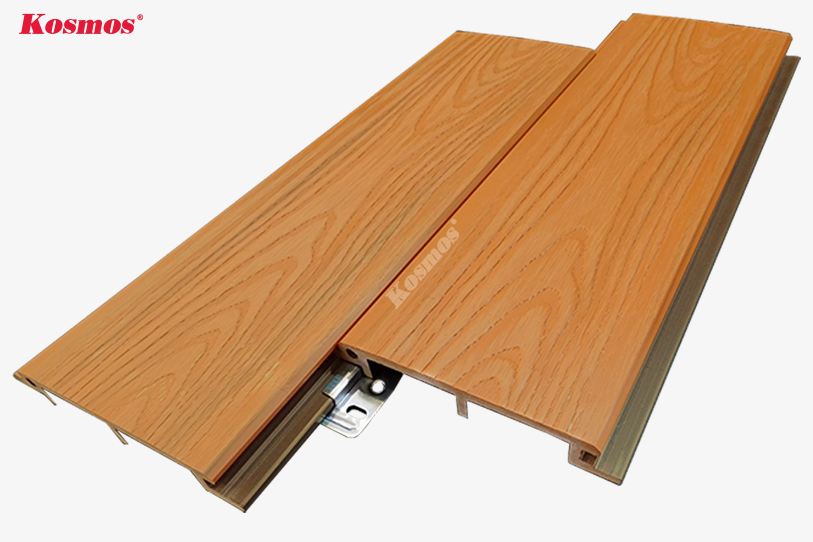
Kosmos plastic wood newsletter
Instructions for construction of wood plastic wall panels
Plastic wood paneling is a type of panel used to decorate and protect walls that is waterproof, does not warp or shrink due to environmental impacts thanks to its composition of natural wood pulp, HDPE plastic and other materials. additives.
Constructing plastic wood wall panels with proper techniques will help the project be sturdy and ensure aesthetics as well as maximum longevity. Let's carry out the following 6 construction steps with Kosmos:
- Step 1: Prepare tools and construction materials.
- Step 2: Create a connection between the wall and the skeleton (catch iron rods or implant iron rods).
- Step 3: Build the skeleton (the skeleton is made of galvanized iron bars or stainless steel bars with a thickness greater than 25mm).
- Step 4: Install the first plastic wood panel (from bottom to top).
- Step 5: Continue assembling the panels until the construction area is covered.
- Step 6: Building comptele.

According to the report "Global Wood Plastic Composite (WPC) Market – Growth, Trends, and Forecast (2024 - 2029) by market research company "Mordor Intelligence", the market situation, development trends and scale forecast The plastic wood market will increase by 2029.

From the above information and data, it can be seen that the demand for plastic wood is constantly increasing. This will be a popular and highly appreciated material line in the future.
B1 Prepare necessary tools and supplies
First, we have to survey the work, measure and calculate the standard size. From there, we will estimate the correct number of panels and skeletons to use, avoiding excess or shortage of materials. Tools, supplies and accessories attached to the construction of wood plastic wall panels include:
- Plastic wood wall panels (flat panels or fluted panels).
- Bone bar (stainless steel bar/galvanized box iron).
- Iron beard or iron barb.
- Welder.
- Drill.
- Stainless Steel Screws
- Screw machine.
- Specialized glue.
- Cutting machines.
- Ruler, measuring machine.
- Plastic wood V brace.
- Rubber hammer.
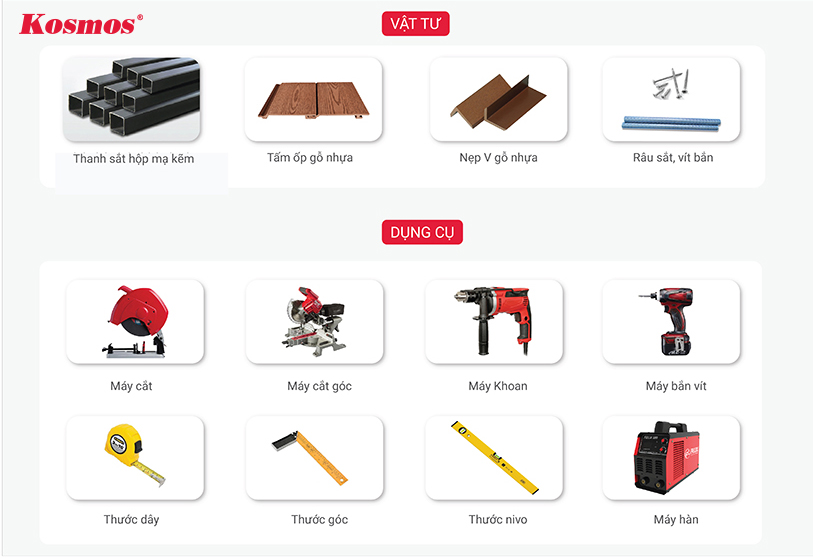
After preparing enough materials to construct this item, we will proceed to adjust their size according to the correct measurements.
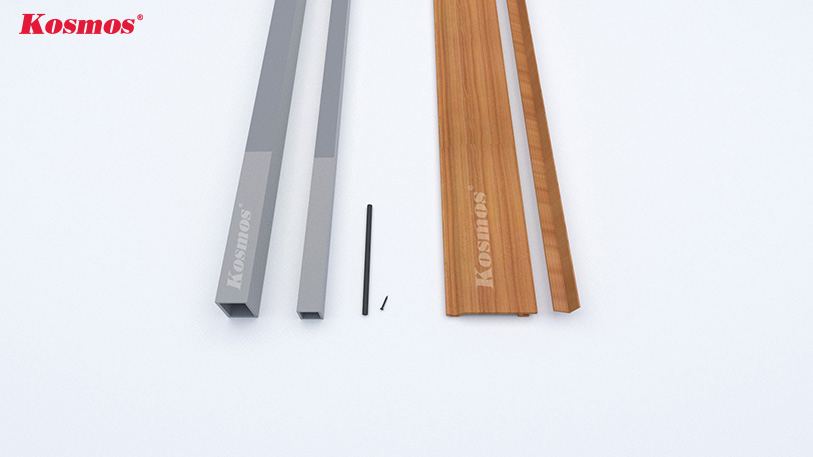
B2 Create a connection between the wall and the frame
Construction of plastic wood wall panels requires the use of a skeleton frame. To be able to fix the frame to the wall, we must create a connection between the wall and the frame in one of the following two ways:
- Method 1: Drill and catch Iron stopper up the wall.
- Method 2: Transplant iron beard directly onto the wall.
Recommendation: Do not install directly on the wall.
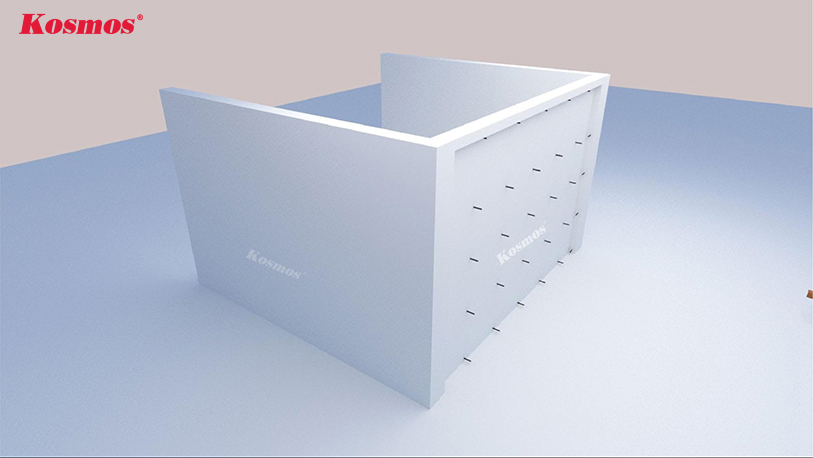
B3 Building a skeleton for the construction of wood plastic wall panels
Stainless steel bar or galvanized iron box are both ideal skeleton materials for this item. They have high rigidity, withstand the weight of plastic wood panels.
After choosing a suitable bone material, we will proceed to weld the separate bone bars together to form a complete frame.
Note:
- The distance between the bones is not too much 500mm (50cm).
- The skeleton and panels need to leave a gap with the wall 7 - 10mm to install plastic wood braces.
- Galvanized iron bars or stainless steel bars used to install plastic wood panels need to be thick ≥25mm.
- Plastic wood panels must lie perpendicular with bone bars (For example, if plastic wood panels are placed on the wall horizontally, the skeleton must be installed vertically and vice versa).


Next, also using a welding machine, we will fix this frame to the iron beard (or iron switch) lying on the wall.
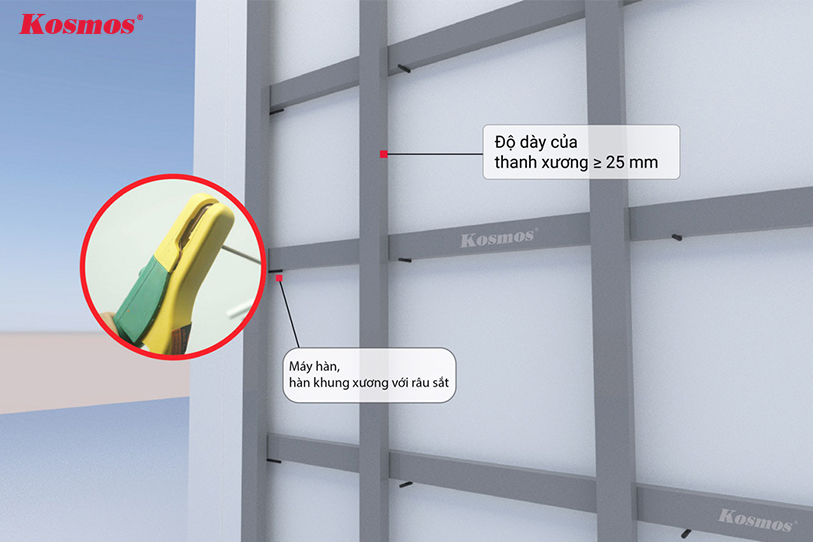
B4 Install the first plastic wood panel on the skeleton
When constructing plastic wood wall panels horizontally, we recommend that you do so Install the panel from bottom to top to ensure the best stability and water drainage capacity.
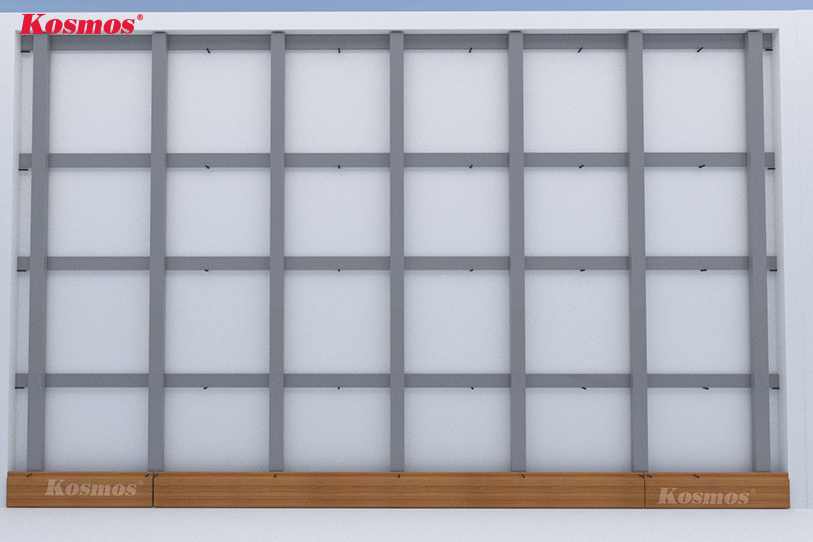
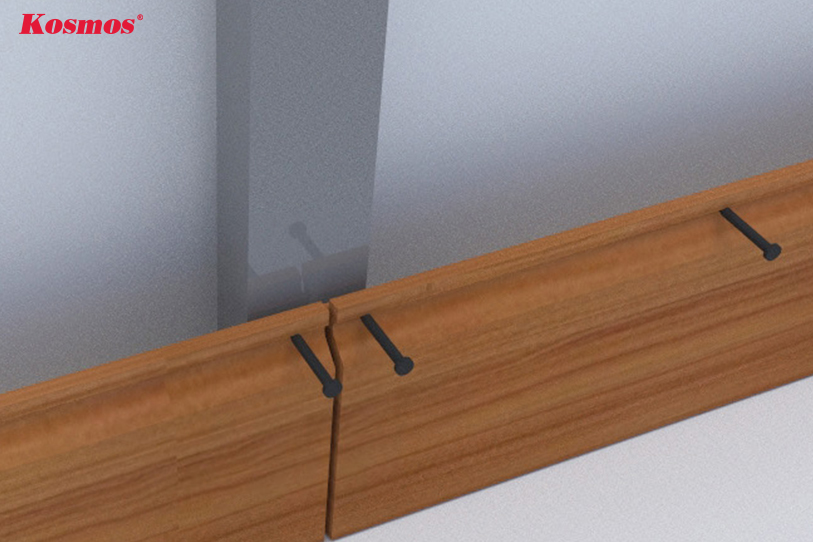
Specifically, we will place the plastic wood paneling facing the ground Stainless steel screws securely fix the panel to the frame.
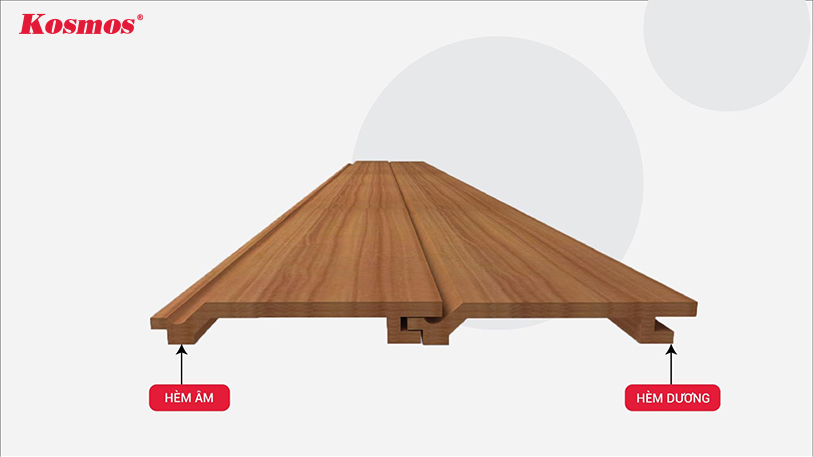
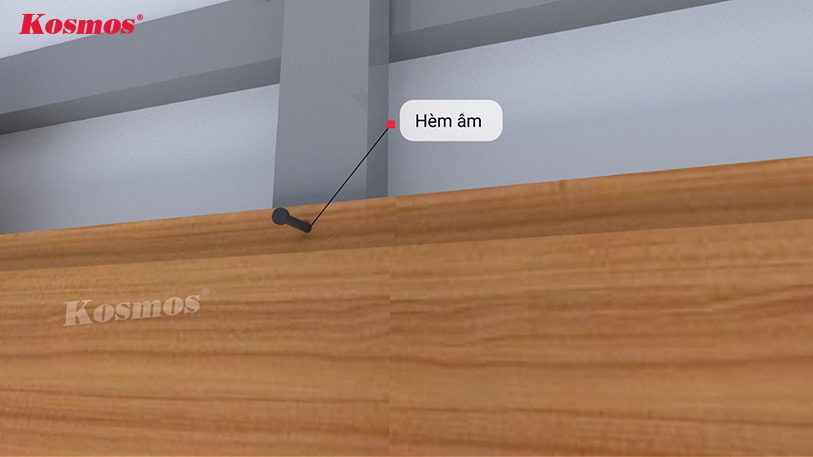
At the location where the plate needs to be connected, the connection must be placed on the bone bar (as shown). If the bone bar is not large enough to fix both connectors at the same time, it is necessary to install 2 bone bars next to each other, each bar fixing one end.
B5 Assemble the positive hem into the yin of the plastic wood paneling
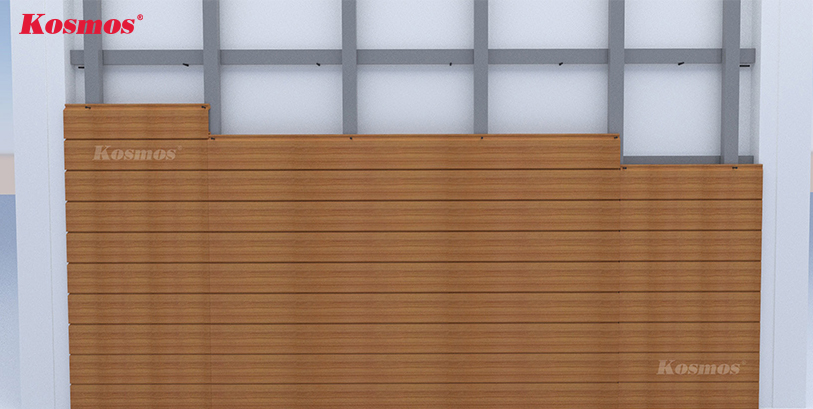
Wood plastic wall panels are decorative materials designed with smart yin and yang locks. When we graft the positive hem into the yin of the panel, not only Hides unsightly screw heads that the plates are still closely linked together. Just repeat this operation, we will immediately have a complete and beautiful plastic wood wall.


B6 Cover the edges of the panel with plastic wood v braces to complete
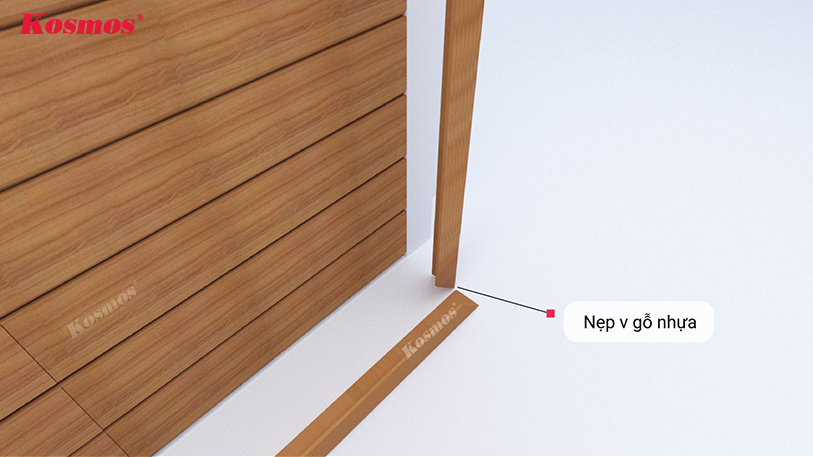
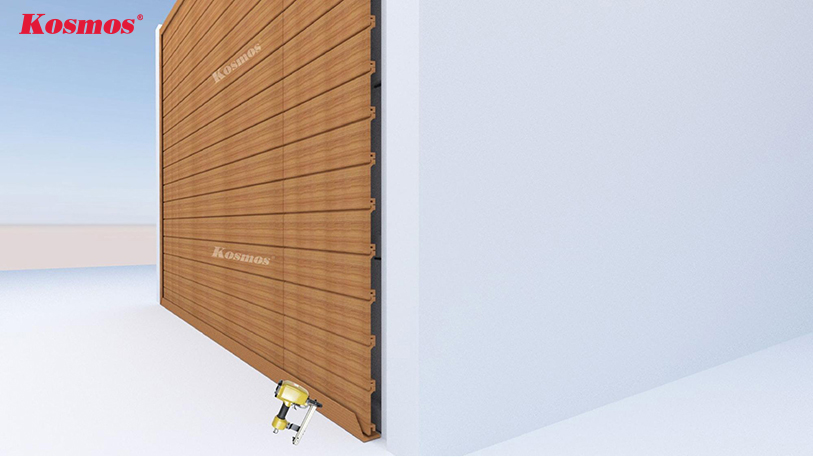
To complete the construction of wood plastic wall panels, we will cover the edges of the panel that are open with plastic wood braces. You should note, at right angle then the v-bracket needs to be cut at an angle 45 degrees.
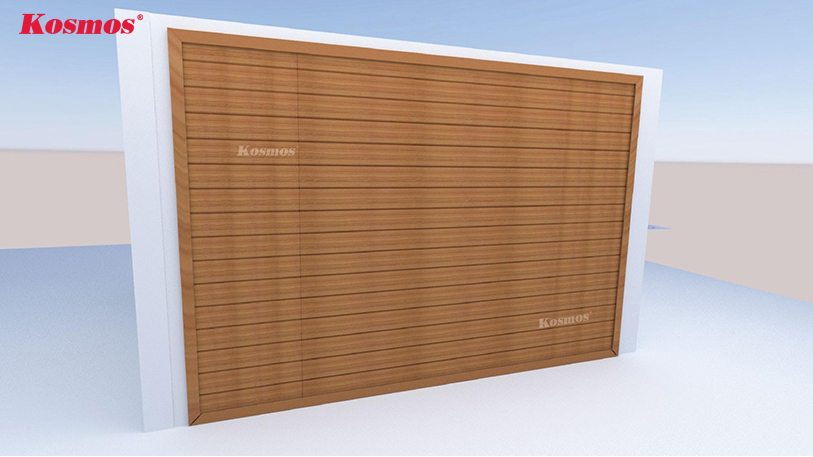
Note: Instructions are for reference only. To have the most suitable construction plan, it is necessary to survey the specific project and come up with an optimal construction solution.
Question related to plastic wood wall panels
How long is the lifespan of plastic wood wall panels?
Longevity outdoor plastic wood panels Can last up to 25 years if used and stored properly.
How long does it take to construct plastic wood wall panels?
Panel construction time plastic wood Wall cladding usually ranges from 2 to 5 days for an area of 100m2. Besides, construction time can also vary depending on many factors: construction area, application techniques, construction worker skills, type of cladding used,...
>>> Watch more detailed video instructions for constructing plastic wood wall panels.
Contents of the instructions Construction of wood plastic wall panels outdoor has been specifically conveyed above. We hope this article is useful to our customers. If during the consultation process you have any problems with any information, please leave the information below for Kosmos to advise you in detail.
You will receive quotation consultation with the latest construction samples of outdoor plastic wood panels, when entering the information below.
Kim Hoa is an expert in interior and exterior decorative materials at Kosmos Vietnam. She has professional knowledge of interior design and loves finding creative ways to optimize space with simple construction decoration materials such as wood, stone, bamboo, brick and plastic.
Kim Hoa Regularly participate in seminars and exhibitions on interior decoration materials to update the latest trends, as well as to learn more about interior decoration materials. Meet interior and exterior designers, architects, and material experts to continuously learn. She also actively shares her knowledge and experience on social media channels such as Facebook, YouTube, Tiktok... with more than 100 thousand followers.
Mission of Kim Hoa not merely providing information, but also ensuring that All information posted is quality, has in-depth investment and is most useful to viewers.
- What is a picture frame? The most beautiful picture frame samples
- Materials for making skeletons for wall panels
- Instructions for construction of outdoor plastic wood ceiling
- Construction of ASA plastic wood paneling in 4 technical steps
- 8 steps to construct outdoor plastic wooden slats
Related articles of interest:
- Galawood plastic wood newsletter
- Kosmos plastic wood newsletter
- Newsletter Kosmos
- Korean Wave Newsletter
- Newsletter fluted panel Kosmos
- Korean molding news
- Stone PVC Newsletter
- Laminate flooring newsletter
- Egger laminate flooring newsletter
- Galamax laminate flooring newsletter
- Kosmos laminate flooring newsletter
- Povar laminate flooring newsletter
- Robina Flooring Newsletter
- Newsletter Thaixin laminate flooring
- Plastic floor newsletter
- Newsletter plastic wall panels
- Newsletter of bamboo charcoal panels
- Bulkhead newsletter
- agents
- Accessories consultation
- Wiki - Interior and exterior trends
Kosmos plastic wood newsletter
3m plastic wood flooring: Benefits, collections, installation methods

Kosmos plastic wood newsletter

